This post contains affiliate links.
I hope everyone had a fabulous Labor Day/long weekend! I had to work yesterday…ironic, I know…and so today I am celebrating by trying out a Luminess Airbrush Makeup System! Now that’s my kind of fun!! Warning – photo overlaod is about to go down…
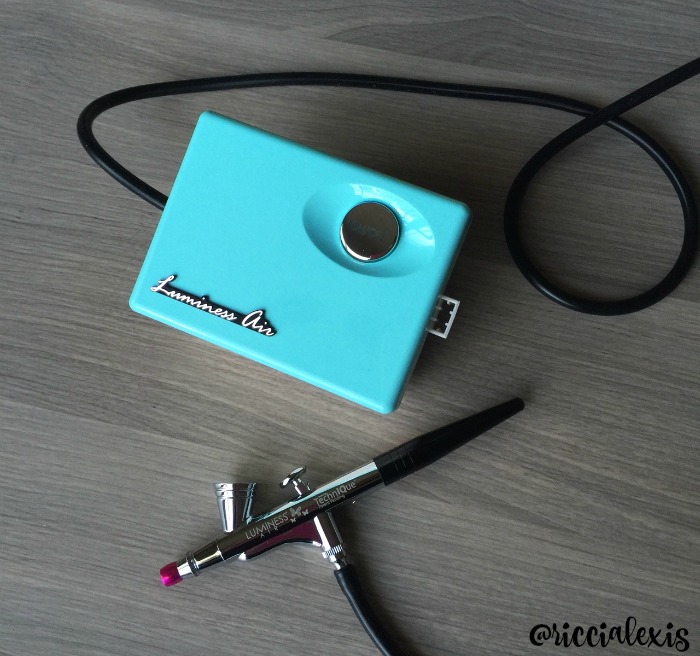
The amazing people at Luminess Air sent me a brand new airbrush makeup system and a whole host of colors to try! Confession: I tried an airbrush system a few years ago and hated it but after working with this Luminess Airbrush system I am convinced I didn’t really know what I was doing before.
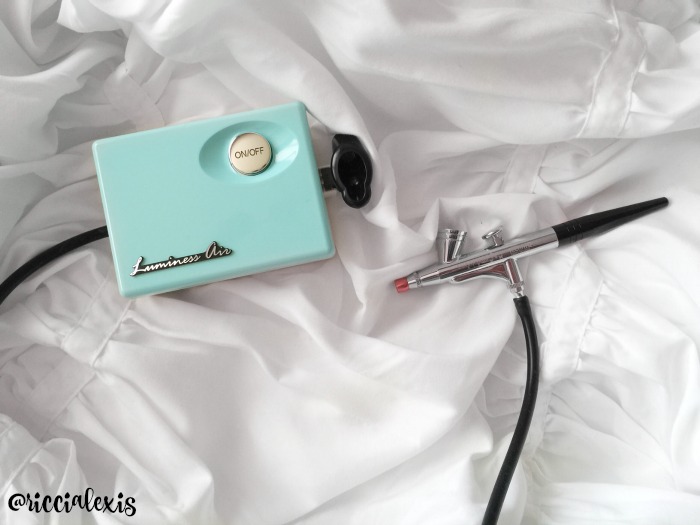
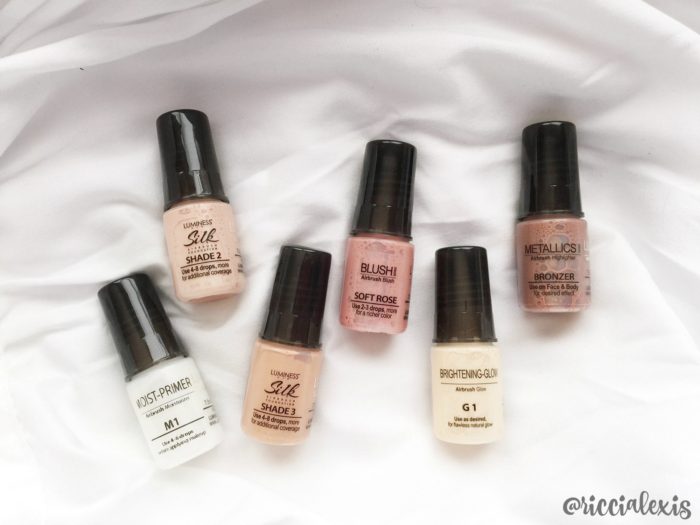
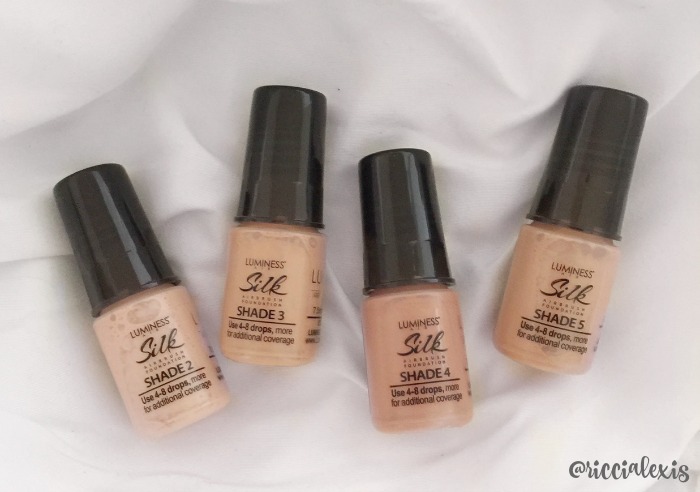
I got this fabulous mint green airbrush system (above) and four different foundation colors along with a moisturizer, a blush, a highlighter, and a bronzer. After color testing I chose to use the lighter of my two foundations, Shade 2 and Shade 3. I will show you how I used them further along in the post!
The first thing you should know about using any airbrush system is how to prep your skin. The night before I tried my system I exfoliated my face really good and put on a heavy overnight moisturizer. The next morning I washed my face really good and then let it air dry. After that I was ready to go!
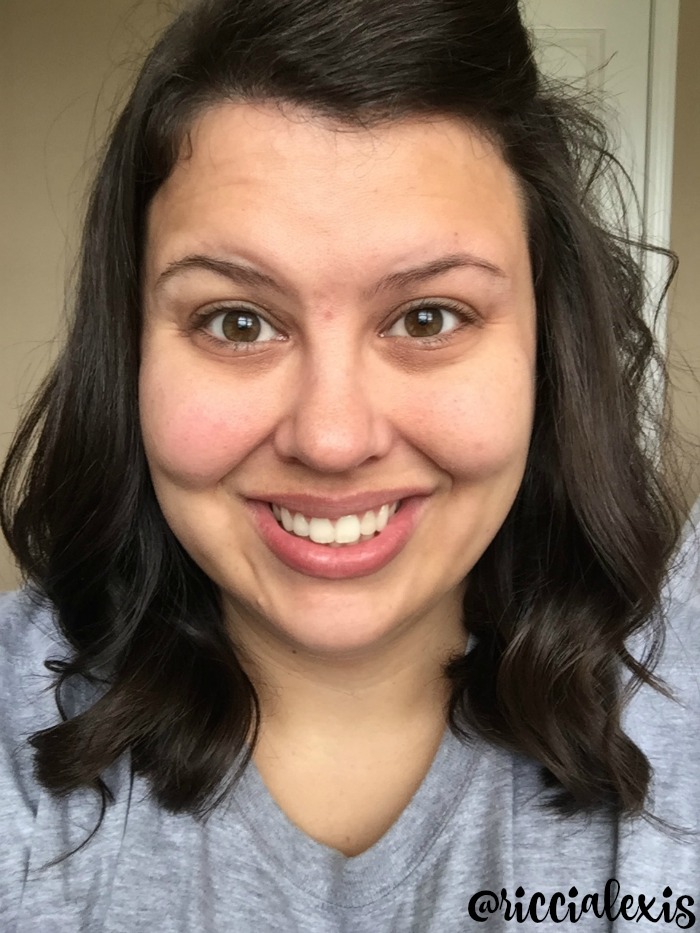
This is actually a really weird time for my skin and so I was thankful for the Luminess Airbrush System to help me cover my imperfections! My cheeks are really red right now and my skin is breaking out a little, ugh. The joys of being a girl, or something like that.
So here is a very scary before pic I took after washing my face and letting it air dry…
…after this I color tested the four foundations on my face. If you have never color tested foundation then you should know that the best way to do it is in a natural light setting. You just take the colors you want and swipe a little on your jaw and see which color blends in the best. Of the four colors I tested I wound up using the two lightest shades.
After I chose my foundation colors I washed the color tested spot on my jaw again and then I was ready!!
When using an airbrush makeup system it is always important to know how to hold the stylus! You just hold it like a pencil and I suggest you practice spraying with it before you actually use it on your face. Test out pulling the trigger and seeing how it feels in your hand. Also it’s good to pull it all the way back at least once so you know how that feels and so you won’t accidentally do that on your face.
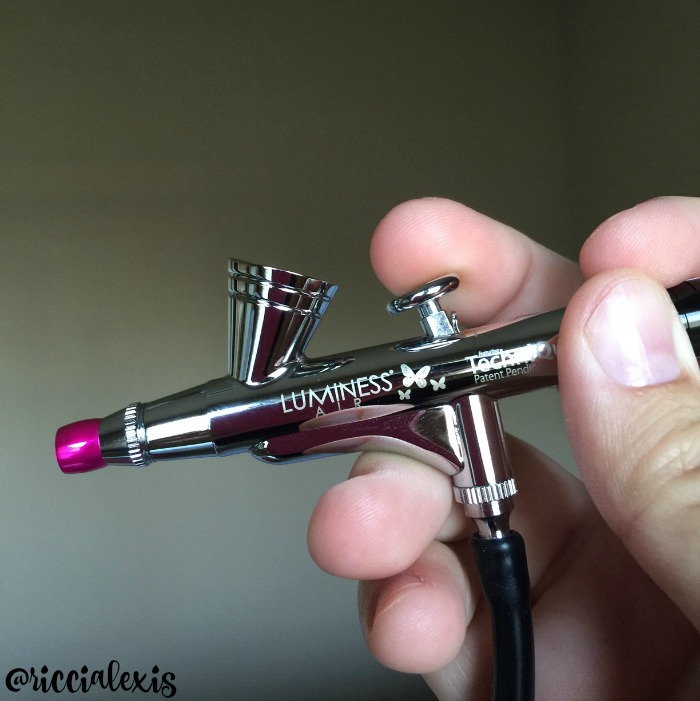
After practicing with my stylus a bit I felt like it was time to get to work!! I love that the Luminess Airbrush system comes with a moisturizer and that gives you something to practice with on your face as well! I put 3-4 drops of moisturizer in my stylus and let her rip! Nothing feels better than a cool moisturizer being airbrushed on your face…it’s truly heavenly!
Remember to wait a minute or two in between layers so that you give whatever you just airbrushed on your face time to settle and dry.
After I was good and moisturized I grabbed the lightest of my foundations, Shade 2, and put2 drops in my stylus. It was time to cover up those under eye bags/circles. I held the stylus kind of close to my face and just got under my eyes and the outside corners of my eyes. When I did this I also held the skin taught to be sure I got in all those fine lines. Getting old is for the birds y’all!!
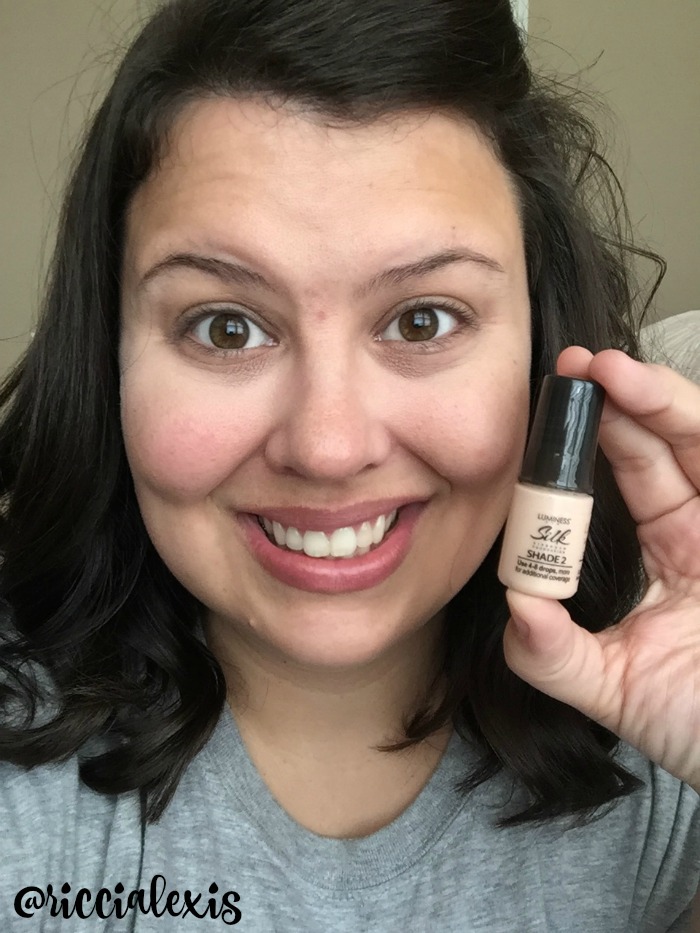
After my under eyes had dried I went ahead and grabbed my beauty blender and made sure that layer was good and blended in before I moved on to foundation. You don’t have to do this but I wanted to so I did. Next I put 4-5 drops of my foundation, Shade 3, in my stylus and went to work.
I held the stylus away from my face, about 10 inches, and made light, even strokes. I went from the top down and made sure to get my neck as well. Nobody wants foundation lines!!
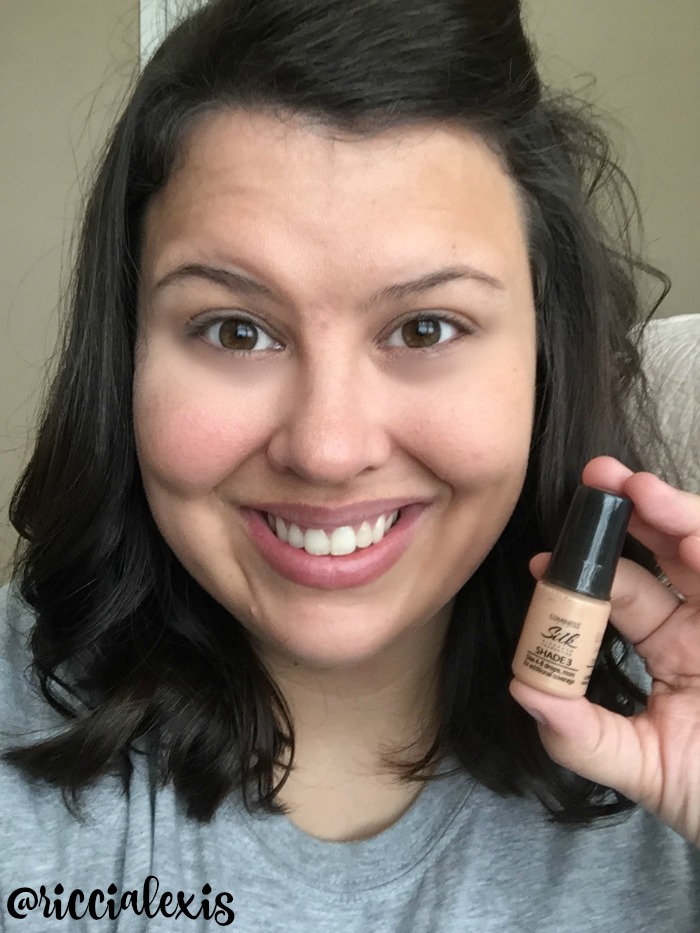
Overall I think that the coverage was very even and if you wanted fuller coverage you can go over your face again. You can make it as light or heavy as you want. Love that!!
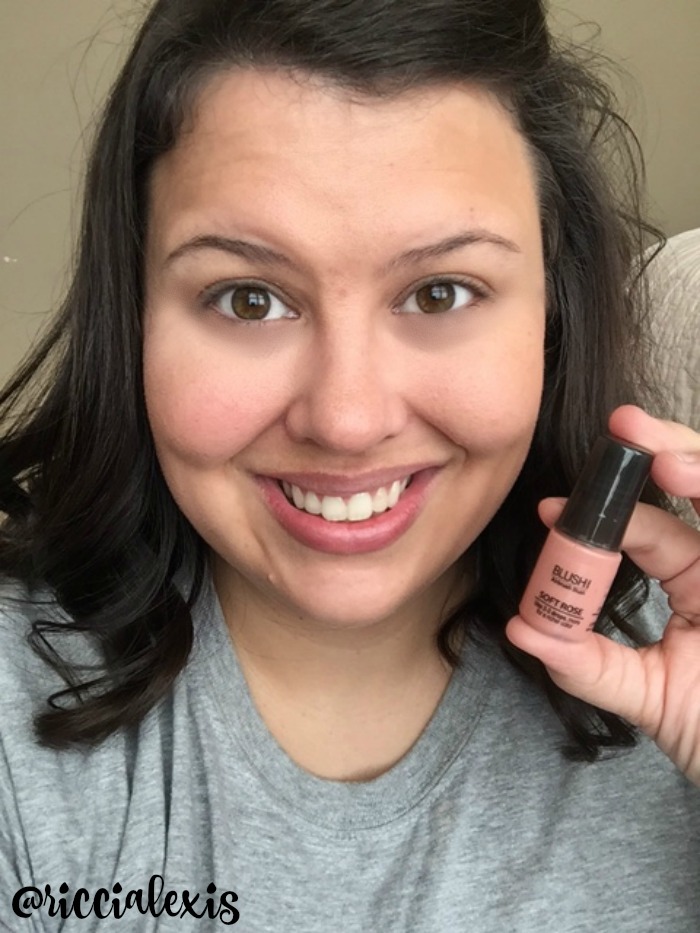
Next up was blush. With the blush I put 2-3 drops in my stylus and got the apples of my cheeks, my forehead, and my chin. Basically anywhere the sun would naturally hit your face.
Nest up was my favorite step…highlighter!!! I have recently fallen in love with highlighter and this Luminess Airbrush System is by far my favorite way to apply it! With the highlighter I put 2-3 drops in my stylus and just hit the tops of my cheekbones, my nose, and my chin.
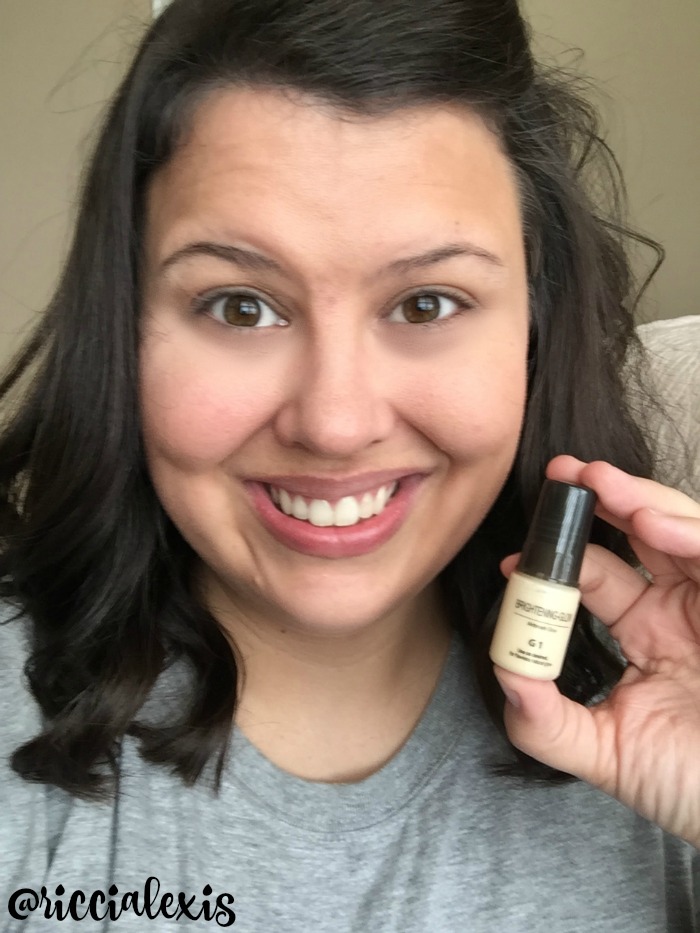
Final step is bronzer. I know a lot of people freak out over bronzer but it really helps give the face a natural feel. Especially since we are winding summer down and most everyone will have gotten some sun on their face. Bronzer is just important!!
With this bronzer I just put 2-3 drops in my stylus and got just under my cheeks, my forehead, my chin, and the sides of my nose.
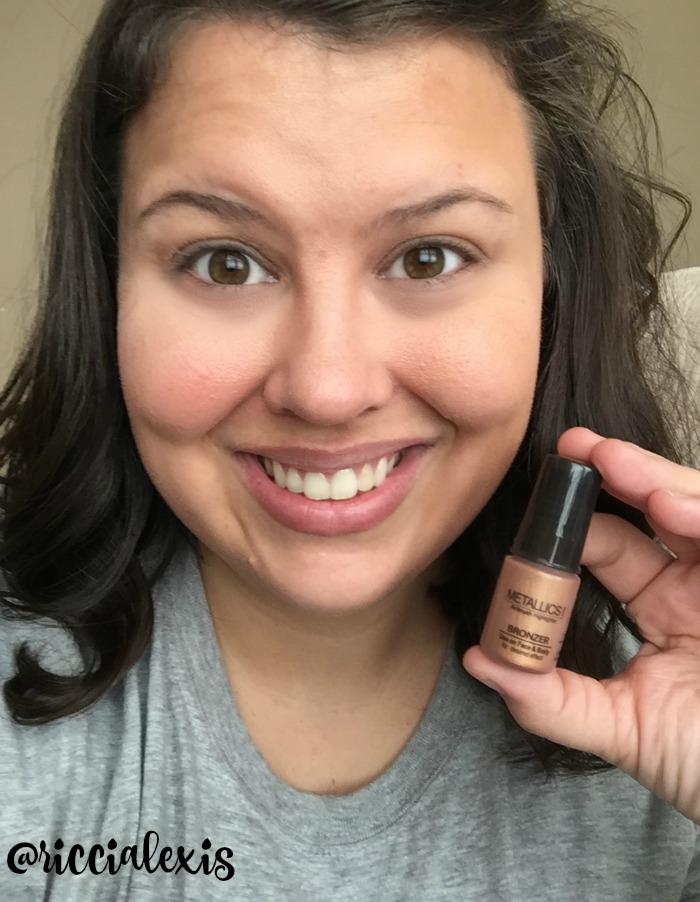
And that’s it!! It was actually pretty easy once you get the hang of it. For reference here is a before/after pic…

…and then of course I and to go put on my eyes and lips too!!
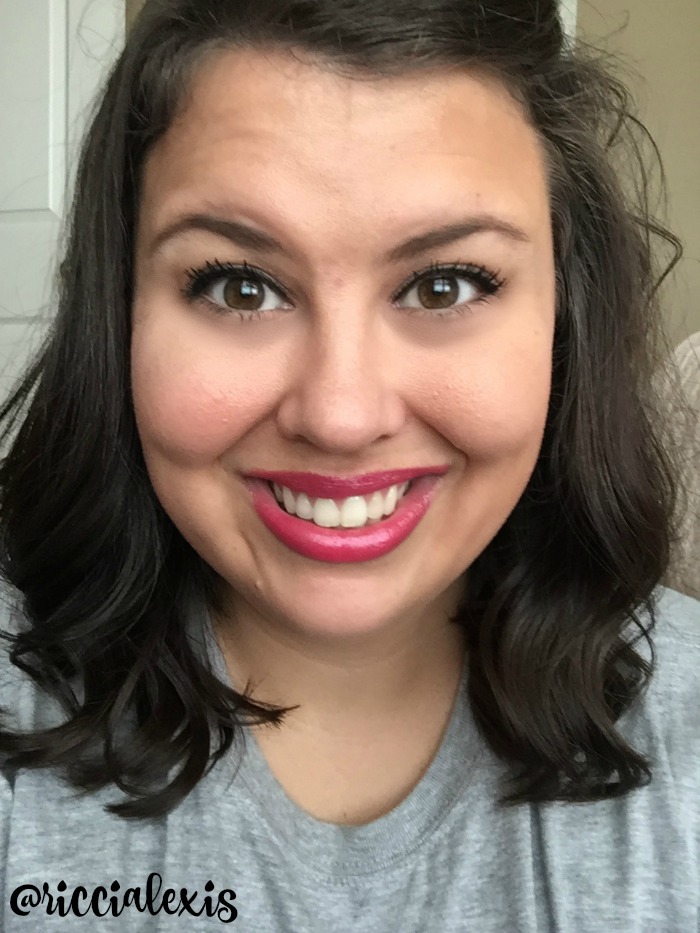
It’s amazing what a little brow filling, eyeliner, mascara, and lipstick can do to really amp up your look!!
So my overall impression of the Luminess is that I really love it! If you have never tried airbrush makeup then I highly suggest this one. It’s easy to use and comes with a great set of instructions and hints/tips/tricks!! If you have never used an airbrush system before then don’t be intimidated by them, they are really fantastic!
Thank you Luminess for sending me this amazing airbrush makeup system!!
Have you ever used an airbrush makeup system??
Have you heard of Luminess??
You look great! I need to give airbrush makeup a try. I’ve been wanting to, but I’m a little afraid I’ll go too heavy.
I’ve never tried airbrushing before. I honestly don’t wear much makeup at all. I can really see the difference in these though. That’s great!
I really enjoy using the Luminess Air machine. I feel like it’s pretty easy to use after you practice a couple of times and the makeup itself is a great product! You look great!
It looks like a great machine! I love the different tones it gives to your skin!
The airbrush is neat. It seems like you don’t habe to use as much makeup either. I don’t wear makeup very often. It tends to make me break out more.
I only see this on TV ads and curious hhow it’s like, then again I am not using make up . That looks like somethng you can really use.
Makeup airbrush. Add that to the list of reasons I’m glad I’m a guy :D looks like a great system though.
That is so neat! My sister is so into make-up. For sure she’ll be over the moon if she gets that for her birthday or Christmas perhaps. Thanks for the idea!
I haven’t tried airbrushed makeup. I haven’t had much luck with foundation. I always feel like it’s too heavy or looks weird on my skin. Maybe I should give the Luminess Air machine a try!
Wow, what great results! I will have to try this.
This looks like a fantastic air brush system. I have a few friends that swear by this application method. I would love to give it a try.
Everybody must been in this placement a minimum of as soon as prior to; you’re new at the fitness center, and you aren’t sure where to go
or just what to lift or how to make use of the equipments.
Wow, that is something I really need. I will check this out, hope i can get one.
Wow great job! Never thought of air brush make up but I would definitely give it a try!