This post contains affiliate links.
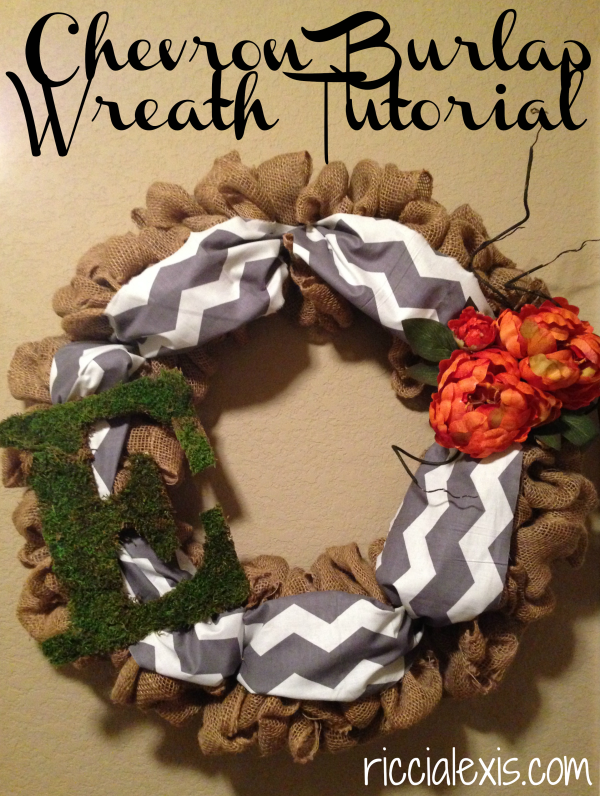
I made this wreath last weekend and I am in LOVE with it!!!
Today I am going to show you how I did it!! I am super excited to share this with you because eI have never done a wreath tutorial before!! I make them all the time but forget to take pics…oops! Anyway, here we go!
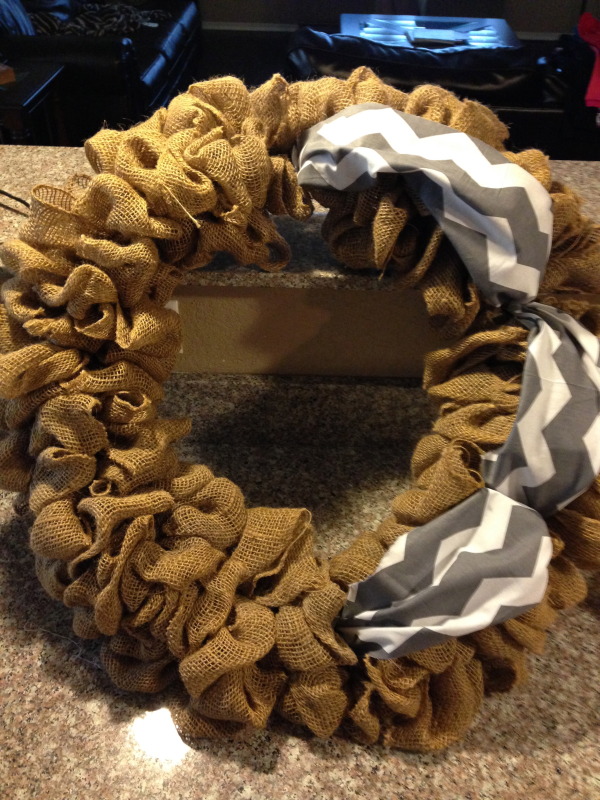
First you need to make a basic Burlap Ruffle Wreath. As I am typing this I realize that I probably need to do an entire tutorial on this but until then please check out this link on how to do it. Don’t worry, it’s not too hard!
After you have your basic Burlap Ruffle Wreath base we are ready to start!
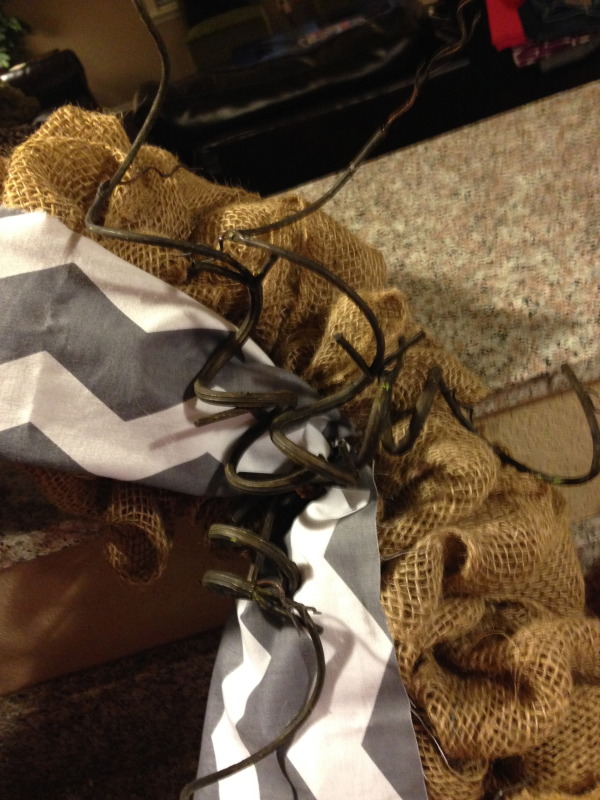
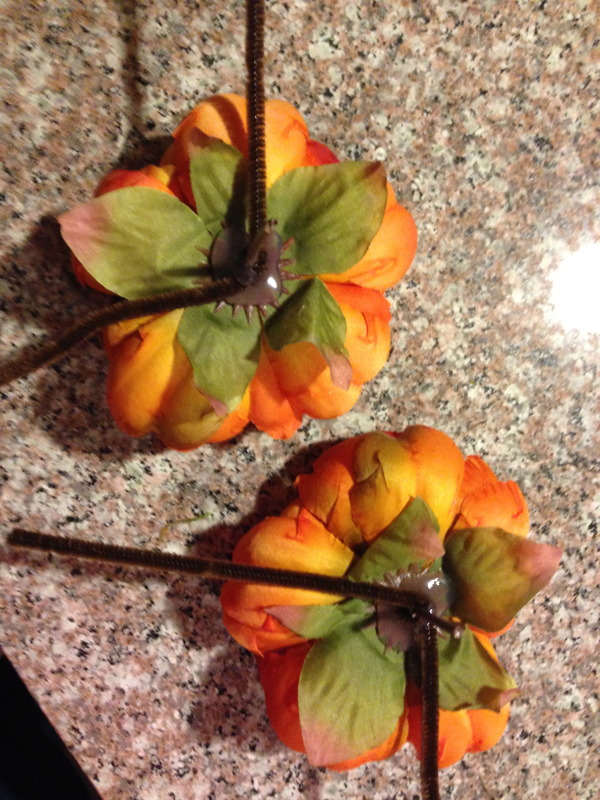
I love this wreath base and have used it for several wreaths! Honestly, I just hot glue pipe cleaners on the back of my letters and bows and tie them on my wreaths so when I am “done” with them I can just take the decor off and reuse the base. Your welcome for that genius idea. :)
On to the decor part of this wreath!
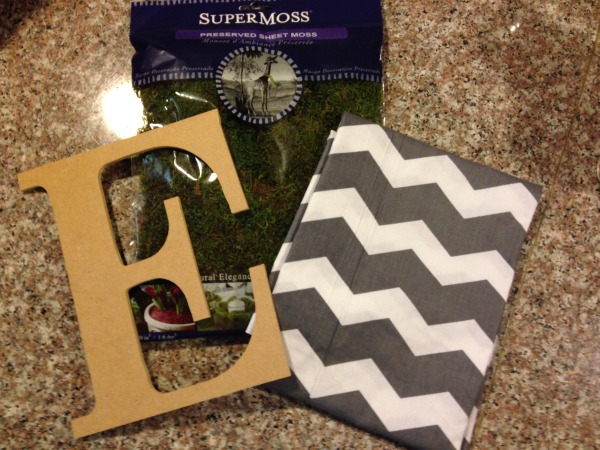
Chevron Fabric
Wood Letter
Sheet Moss
Hot Glue Gun/Hot Glue
Pipe Cleaners
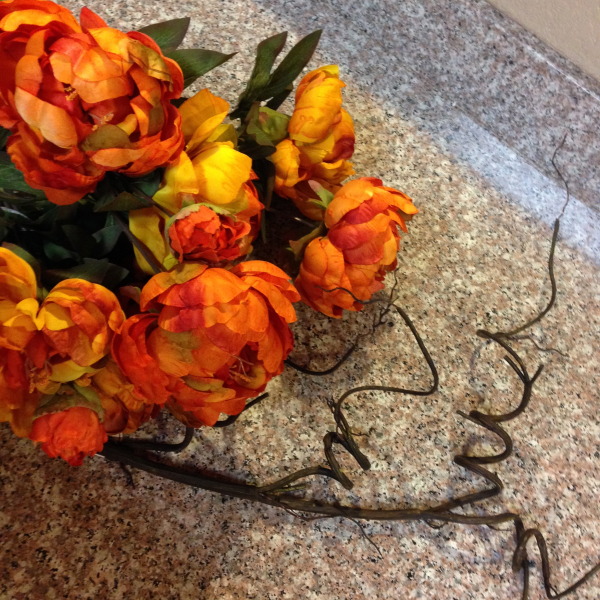
Flowers
Swirly Sticks
How to:
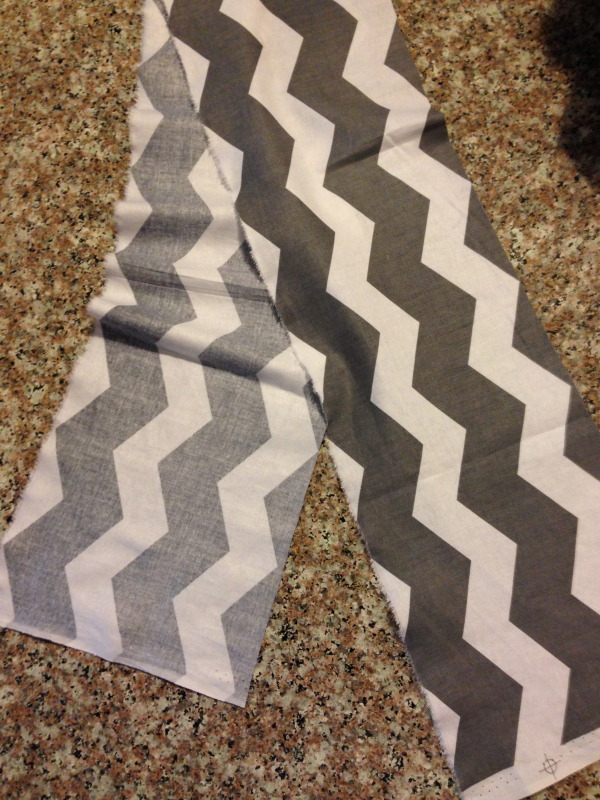
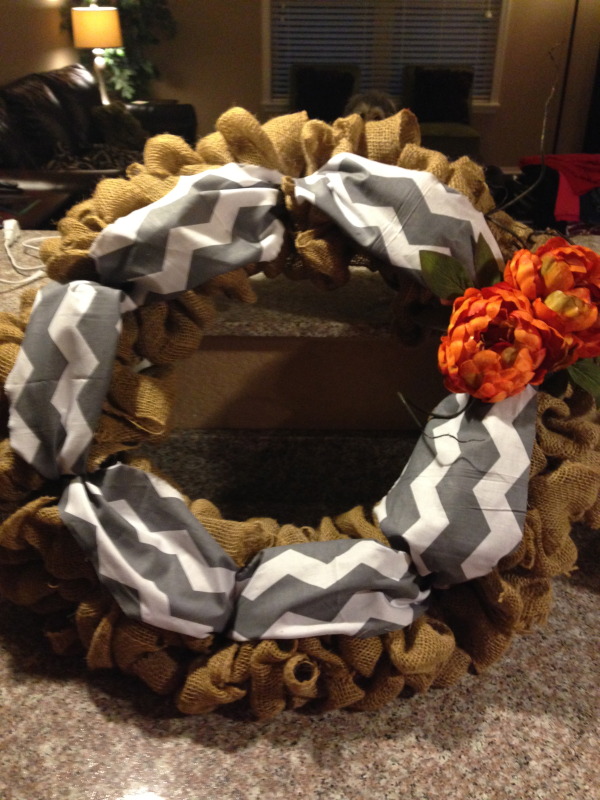
1. First up you want to tear some of your Chevron Fabric into long strips (2 worked for me).
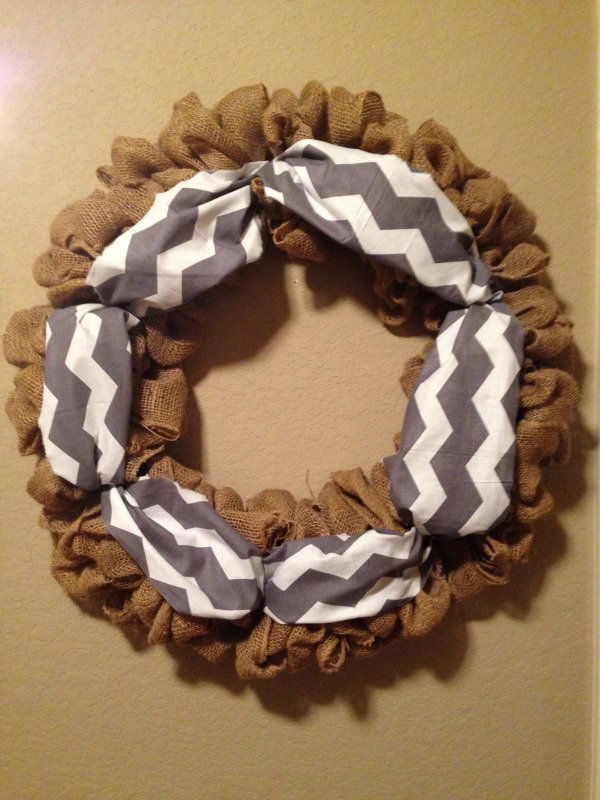
2. Next, start on one side of the wreath and tie it with a pipe cleaner to the wreath and do the same to the opposite end. That covered half my wreath. I bunched the fabric up in two places and pipecleanered it down in place.
3. Do the same with your other fabric strip and then your wreath should be covered with the Chevron Fabric. Some sides are bigger than others but it doesn’t matter.
4. Next step is to cut your Swirly Stick into smaller pieces and arrange them how you want them on your wreath. Remember these will go behind your flowers so make them stick out a little. Pipe cleaner those suckers in place! I put mine in the tope right corner of the wreath where I would normally stick a bow.
5. pick which flowers you want to use and arrange them on top of your Swirly Sticks and then take them off and hot glue pipe cleaners on the back of them.
6. After your hot glue is dry, tie them on and fluff them up. I also stuck a few leaves in but didn’t glue or pipe cleaner them down. I guess I should…
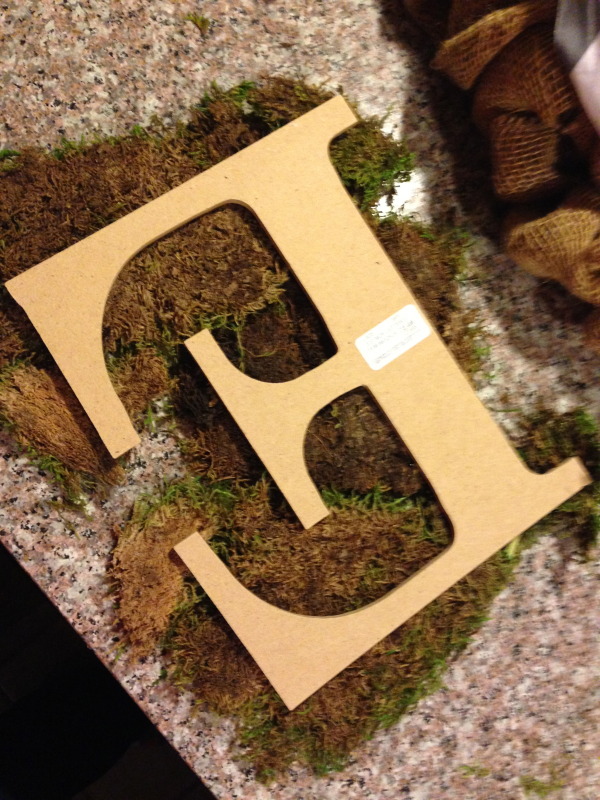
7. Next we will work on your moss letter….this is the messy part. And I do mean messy. FIrst, I laid out my moss and put my letter on top of it (face down) to see if it covered.
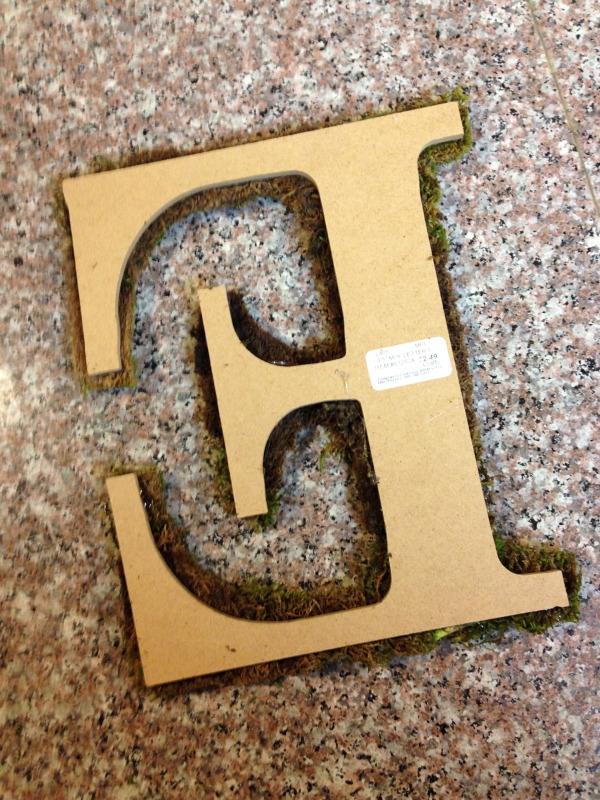
8. After I made sure my moss fit I hot glued it on and let it sit. When it was dry I cut it out veeeeery carefully. I will say it again, moss is MESSY.
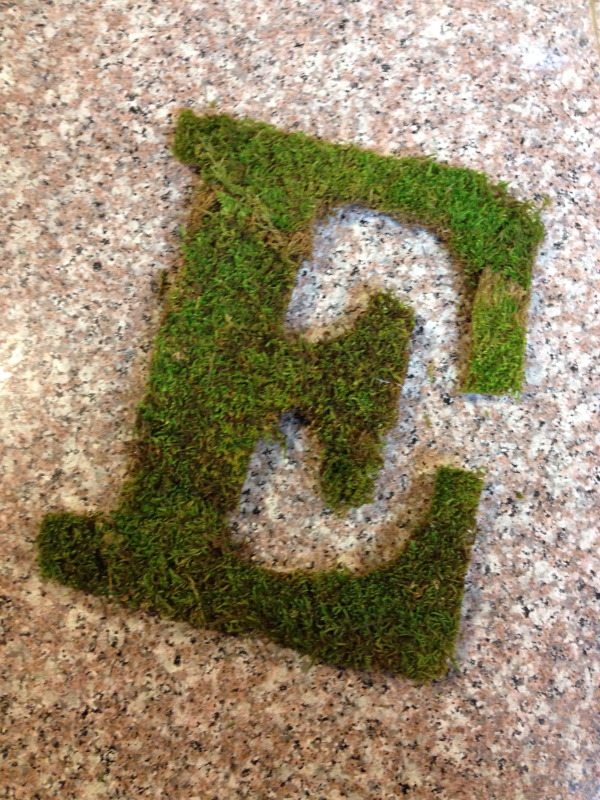
9. After you have trimmed your letter flip it over and use some of the trimmed off moss to cover any holes you have on the letter.
10. Last step is to hot glue pipe cleaners to the back and tie it on your wreath and then you are DONE!
And that’s it!! BOOM!! Super easy!!
Wish I was good as you at crafts!!!
Adorable and easy?!? Right up my alley! Love this.